
How Do I Add Custom Map Markers?
Want to use a custom marker on your map instead of the standard colors offered with the app?
Marker Image Requirements
We recommend the size be 30px X 30px, and it must be a .png, with a max file size of 500kb
Adding the Marker
To add the marker to the app, open the app and go to the Settings tab, then click on the Go to Manage Markers Page

In this page, click the Add Marker button:

Give your new marker a Name, select the file and click Save Marker when done:

Now that the marker is saved, you can see the file uploaded in the marker list.

Assign Custom Marker to locations
Now that we have our custom marker made, lets assign it to a location!

Click the Marker dropdown list and select your new marker.
Then Save!

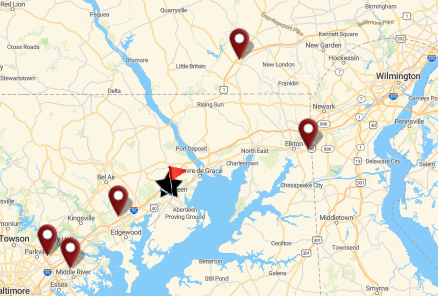
Now open your store view the map to see your marker!
Set Custom Marker On Import
To use a Custom Marker on import instead of the red marker or other basic colors, enter the name of the marker file.
For example if the Marker name is Store 1, the import marker field would be store-1
For example if the Marker name is Store 1, the import marker field would be store-1
Note: The name of your Custom Marker will be lower case within the import template regardless of the file name during upload of the custom marker. It will also be required that you replace spaces with a dash ( - ).
For example: If the Marker name is Store 1, the import marker field would be store-1
For example: If the Marker name is Store 1, the import marker field would be store-1
Import Template file found here